How to draw on the computer with a Wacom Tablet & Stylus… ( updated 2024 )
To those who have never drawn anything on a computer, it can feel overwhelming to know where to start.
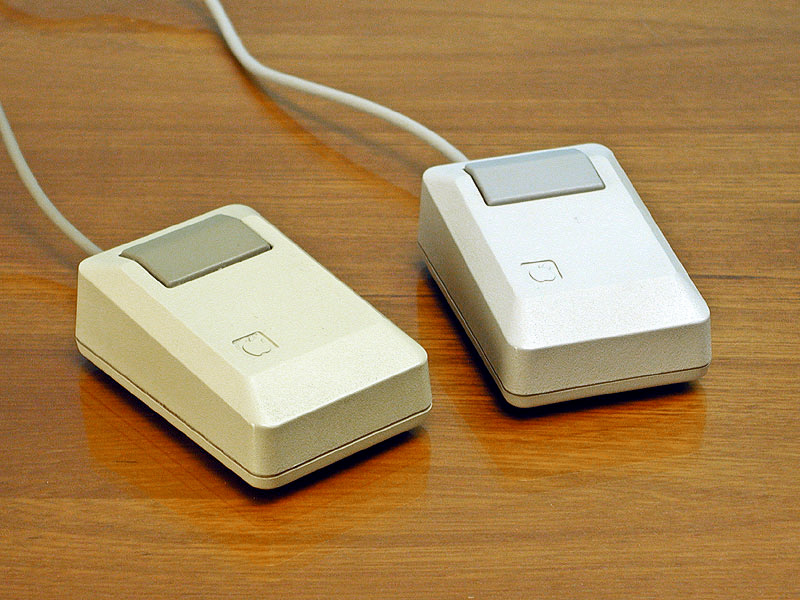
Before investing my time and money in using a professional Wacom tablet, I first started out with a basic roller ball computer mouse and MS Paint. Yes, it was that long ago!
This method of drawing on a computer with a Wacom tablet predates how I learned how to draw commercially on a computer. Before attending design college and building a design career.
When drawing on a computer, the mouse is the first obvious tool to use. As you invest your energy and education into drawing on a computer, you will want to seek out better hardware and software to support your digital drawing journey.
The mouse should be your first step, but don’t stop there!
This post is a great introduction if you are considering using a tablet to draw on your computer.

Drawing with a tablet | overview – why use one?
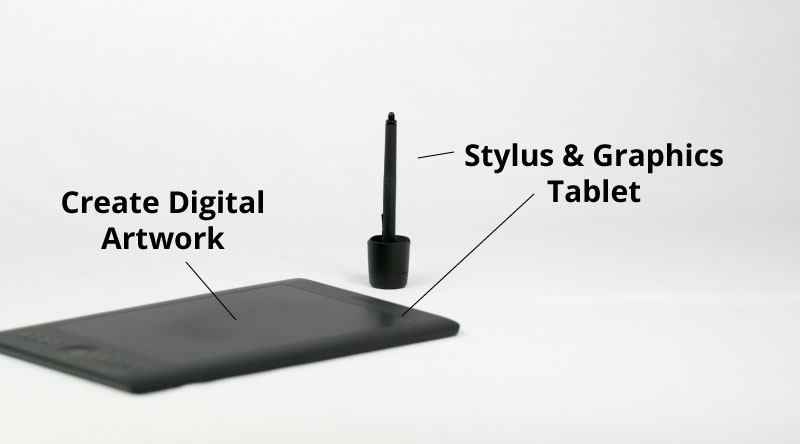
One of the best ways to draw on a computer is by using a Stylus & Graphics Tablet in conjunction with a powerful art creation program. Using a tablet will afford you a greater degree of artistic freedom and finesse once you have become accustomed to the nuances and sensations of using one. However, This is also assuming that you can draw to a certain degree in the first place.
How to draw on the computer with a stylus & tablet – Quickfire answer
In terms of how to use a stylus and tablet ( or ‘drawing tablet’ ) from a technical standpoint, it is typically a case of plugging your tablet into your computer, downloading and installing the latest drivers and software, and then calibrating your drawing tablet.
Once this core set-up is completed, you can then set about installing drawing in programs such as Adobe Illustrator or Photoshop.
The technical setup is not that complicated when comes to how to work with a drawing tablet.
How to draw on the computer with a stylus & tablet with regards to technique.
Treat the tablet as you would a sketchpad and pencil. Apply light strokes and heavy strokes, bold strokes, and small strokes. Get used to the pressure and sensitivity of your tablet. Learn to ‘feel’ the tablet ( cringe ). And give it time.
The video below is me drawing a blue ball using a Wacom Tablet and Photoshop.
*If you have applications installed on your computer.
For more information on how to create digital artwork on the computer, read on!
“you will need to practice, practice and then more practice.”

How to draw on the computer with a stylus & tablet | Managing expectations
Not wanting to lead any readers or budding designers astray, I feel one of the first things I should touch upon when learning how to draw on a computer with a drawing tablet such as a Wacom, is managing expectations.
Although knowing the technicalities of how to draw with a stylus and drawing a tablet on a computer sounds like a golden bullet. The technicalities are only the first part of the journey when it comes to drawing on a computer.
The real knack for making your own artwork comes with practice – not the tools. A piece of high-tech equipment won’t provide you with the soulless magic results like an AI generator.
That is not how it works if you want to create your ‘own’ artwork.
To get your digital artwork or design to the place you want it, you will need to practice, practice, and then more practice.
If however, you are of an arty-illustrator vein. Then ignore what I have said above. You may take to drawing or designing on a computer like a duck to water if you are already a proficient artist or illustrator! Let your flair flourish and shine!
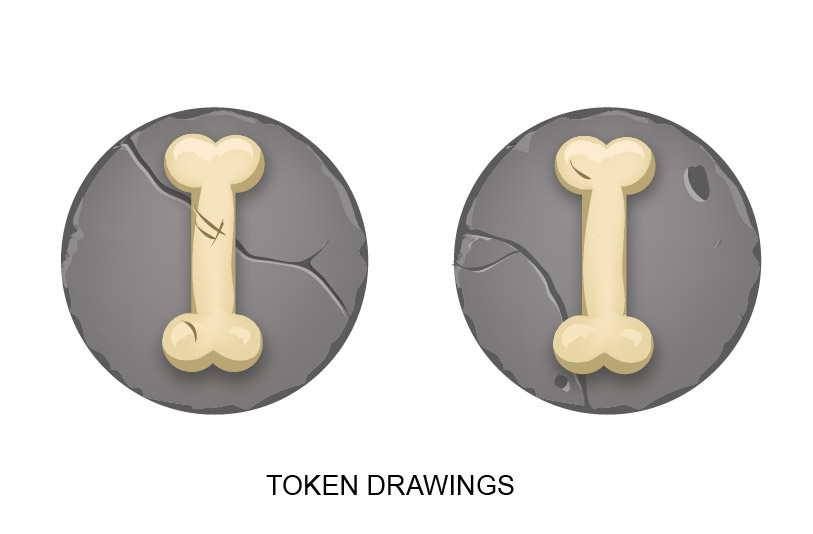
Here are a few examples of what I have illustrated ( drawn ) on a computer with my Wacom Tablet. Followed by some simple steps.
What I have drawn ( illustrated) with a Wacom Tablet on a computer


Step ‘0’ ) How to draw on the computer with a stylus & tablet – Be able to draw
As a pre-step, I can’t assume too much.
You will need to make sure you can draw to a certain degree with a pencil or pen before you can expect to draw on a computer with Wacom or a digital tablet. No matter what hardware you own.
If you want to create your own artwork away from AI art generators, you will need to be able to draw to some degree.
The technology and hardware, will not magic your hand and eye into creating what you want.
Even if you can only sketch, this will be a huge advantage when drawing with a stylus on a computer. This is a pre-step warning!
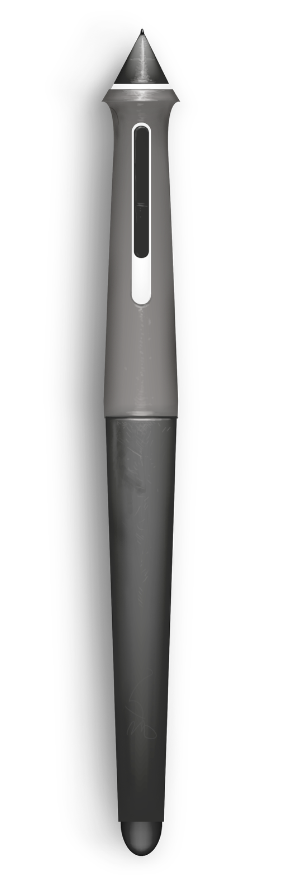
Step 1 ) The required equipment to draw on a computer
To draw on a computer with a tablet … you will need to own the required equipment. Or borrow. This should be a given. I have used the following bits of equipment in the past ( aside from a mouse ):
- Wacom Bamboo and pen – a more entry-level drawing tablet at the time ( now legacy)
- Or a Wacom Intuos Pro & Pen ( medium ), this is what I’m using at the moment.
- * Or a Cintiq ( I’m jealous )
- A working keyboard
- A computer that is compatible with a tablet
- An operating system that is compatible with your drawing tablet
- *Your computer will also need to be able to run both the drivers, the tablet, and the software
Step 2 ) Understanding the type of digital art you want to create ( not genre )
When considering how to draw on the computer with a stylus & tablet, you may wish to consider the type of artwork you want to create.
This can steer the type of software required to draw on your computer. I have attached an example here.
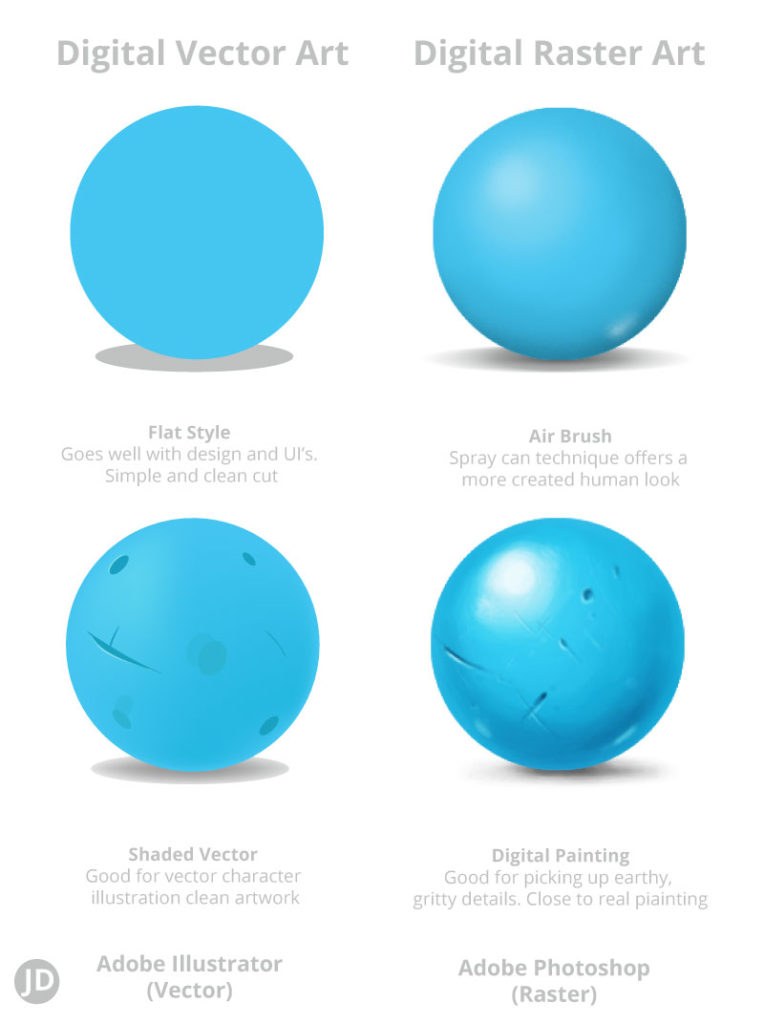
style examples, Photoshop Vs Illustrator
You will notice the different styles above I have created using certain software with my drawing tablet. You can create certain types of finishes in varying programs.
Vector Illustration ( left blue ball )
Imagine drawing with cut-out shapes, knives, sprays and pieces and pieces. With the types of programs that allow you to draw and create vector artwork, you can create a range of slick illustrations.
With vector artwork, the appearance can appear clean and tidy. You can also scale the work up and down without loss of quality. Vector artwork lends itself well to commercial logos, large format graphics, icons, and UI’s.
Here is an example of some of my other vector artwork.
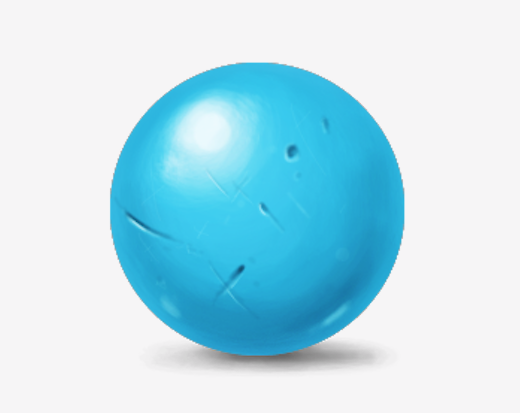
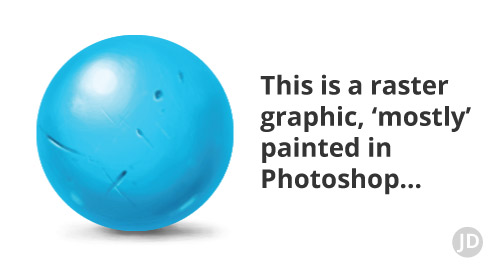
Bitmap based artwork – Raster ( right blue ball above )
You may notice the ball on the right has a more painterly feel ( refer to the illustration above). For this more textured appearance, I digitally painted this in Photoshop. Some may find this approach more akin to drawing or painting using traditional methods.
Bitmap format or digital painting in particular lends itself well to a more painterly, textured, or grainy appearance. If you have painted in acrylics for example, you may prefer this approach. But it doesn’t always lend itself so well to all circumstances in print.
Is creating digital art easy?
Yes and no, getting started with creating digital art can be very easy and low cost. Getting to a stage where you could call yourself a professional artist takes time and years of practice. The best way of getting started with creating digital art is by downloading graphics software and practicing to improve your digital drawing techniques.
I wish I could find my very first digital drawing, it was created on a Windows 3.2 in the era of the awesome floppy disk – you can read a bit about me here.
This is perhaps a topic I would like to dive into again in another post.
Digital art can be accessible with the right tools and equipment. Working with the Wacom Tablet for example can streamline the process further.
Step 3 ) What digital art software should ‘I’ use?
There are so many to pick from, but for the sake of just creating something you can call ‘digital art’, as a hobbyist begin with something you may already have, MS Paint In Windows.
There are other art programs out there that are also free such as Gimp and Krita. I have personally never used Krita but the results on the website show what it is capable of and it has also been given a recommendation from a reputable digital art magazine IFX. This magazine is dedicated to creating fantasy, digital, and traditional artwork.
Advanced digital artwork software ( what I use )
As both a designer and digital artist, I use 2 main programs to create my art and design work, these programs being: Abobe Illustrator and Adobe Photoshop.
Adobe Illustrator
Adobe Illustrator often gives a very clean-cut appearance that you may see in books, posters, lifestyle magazines etc – this is called ‘vector art’.
Adobe Photoshop
Adobe Photoshop is a versatile piece of software that behaves like a drawing and painting tool and offers an intuitive workflow.
It should be noted that these programs can both be tricky to master and you may be more drawn to one than the other. You can get a free trial or purchase a subscription to use the software by going to Adobe Creative Cloud.
If you are just starting out on your journey to becoming a digital artist or illustrator, I would test a free program first.
Use the images above as a reference if you are just starting out or if this is part of a hobby. For me, it works like so.
Simple differences in what type of artwork Photoshop or Adobe Illustrator creates.
- Clean cut, modern vector artwork = Adobe Illustrator
- Grainly, textures, and painterly = Adobe Photoshop
How to draw on the computer with a stylus & tablet | Deciding on software
As a budding digital artist, designer, or illustrator you will want to consider how you want to draw with a Wacom Tablet. What sort of outcomes are you looking to achieve?
If you are unsure and just trying your hand at creating digital art on a computer, you may want to consider the selection like so.
Adobe Illustrator may suit you more if you want to become a designer or a clean-cut vector artist. The way a vector drawing behaves inside a program is quite different from a raster art program such as Photoshop.
Adobe Photoshop is great If you want to work as a traditionally styled illustrator, digital painter, game artist etc.
There are thousands of examples of digital artists on social media with websites and professional blogs.
Here are some examples here of my vector artwork.
This person here is a terrific vector artist and designer – Vicky Doodles
Step 4 ) Grab Your stylus, and your Wacom Tablet and start drawing
Assuming that you have now decided on the type of artwork you want to experiment with, now is the time to start using the equipment.
To continue with an overview of how to draw on the computer with a stylus & tablet. Make sure you have plugged in and installed your tablet correctly.
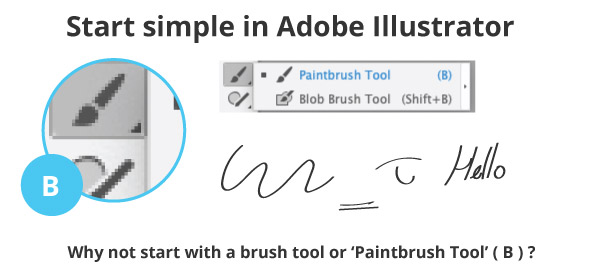
If you have started with Adobe Illustrator as your application of choice. I would recommend starting the tool that is in tune with the Wacom Tablet, eg the brush or pencil. My first port of call would either be the Pencil or the Brush tool.
Start making small strokes with the stylus on your Wacom and see how the stroke behaves.
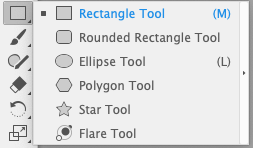
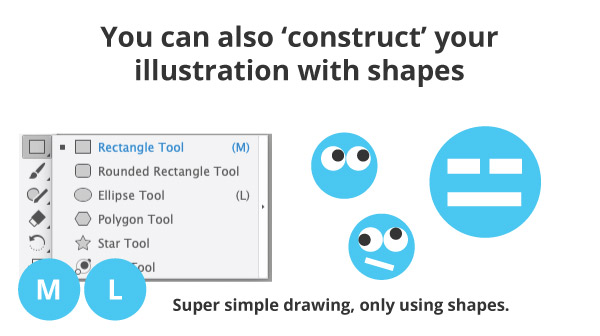
Or if you prefer, start working with some of the most basic shapes first and move these around your artboard as you would with a mouse.
Short overview of how to draw with a tablet in Adobe Illustrator
- 1 ) Firstly you will want to start up Adobe Illustrator.
- 2 ) Create a new document of your choosing. You can start with A4 for the sake of experimentation.
- 3 ) Select the brush tool “B” and start making some marks and feel how the tablet responds to you and Adobe Illustrator. You can always undo it if you make a mess.
- 4 ) If you prefer, you can also try to create an image with shapes first if you are familiar with working with vector graphics.
Illustrations – working in Adobe Illustrator and making marks.
If you read on, I have also created some short exercises to play with – for free! Hopefully, these will get the juices and familiarity working when using your Wacom Tablet.
Short overview of how to draw with a tablet in Adobe Photoshop
If you have decided you would prefer to create artwork in Photoshop on your computer then this is the paragraph for you.
- ) Goes without saying, but open up Adobe Photoshop – and create a new document.
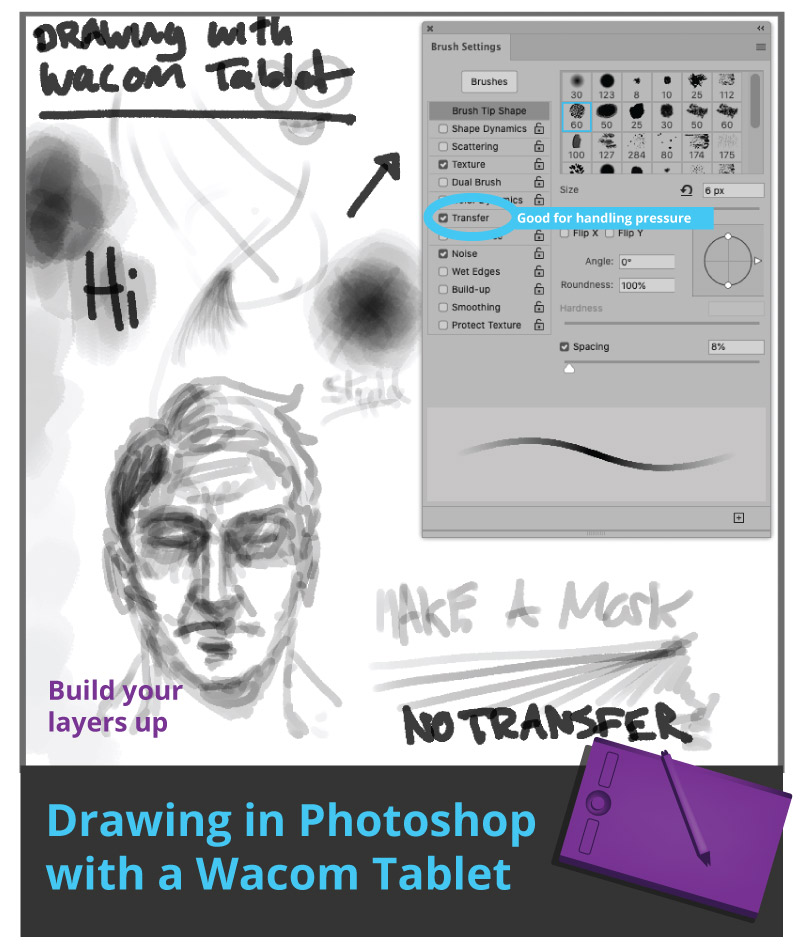
- ) Select a brush tool and start painting/ drawing onto your blank document. Remember, this is only to get used to using your Wacom Tablet and Stylus. I used black.
- ) Press ‘F5’ to open your “brush settings”, select a tip you like and tick “transfer”.
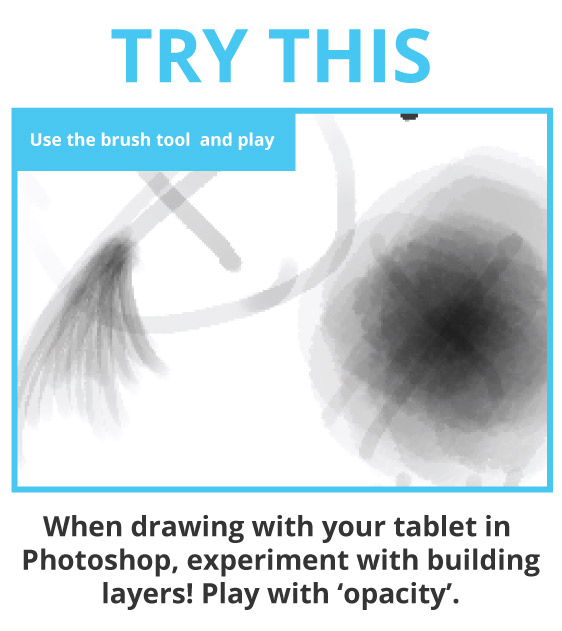
- ) Now start painting and building a feel for your Wacom tablet. Another tip, play around with the opacity to help build your brush strokes on top of one another.
When learning how to draw on the computer with a Wacom Tablet & Stylus, the snappy overview above will hopefully get you started. But, I have also created some exercises for you in the next step, to really give yourself some time when drawing with a Wacom Tablet.
5 ) How to draw on the computer with a Wacom Tablet & Stylus | Exercises
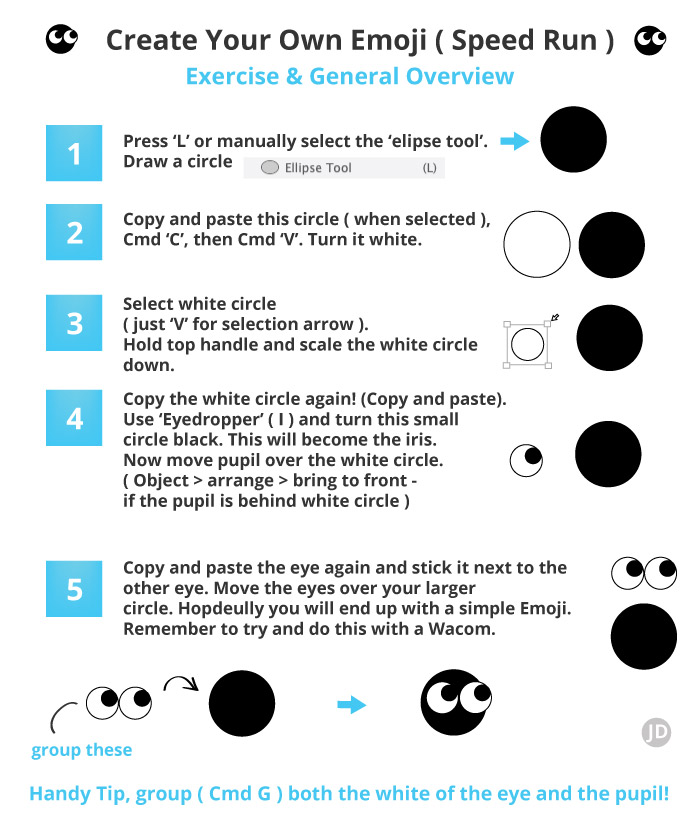
To further develop and play with your Wacom tablet. I invite to to take part in these exercises I have created for you for free. The illustrations below should guide you on what you need to do when drawing on a computer with your Wacom.
Exercise for drawing in Adobe Illustrator with your Wacom & Stylus
Exercise for drawing in Adobe Photoshop with your Wacom & Stylus
How to draw on the computer with a Wacom Tablet & Stylus | Concludes Steps
That concludes the step and general over of how to draw on the computer with a Wacom tablet & stylus. By all means, feel free to revisit the steps and stages above. Or if you feel this was a lot to remember, why not save this page as a favourite or bookmark. ( thanks )
But hey, I am not yet finished, I have also noted some key differences when drawing on a computer.
Wacom & stylus vs drawing with a mouse
If you are still wavering as to whether you want to draw with a Wacom. I have gone into a little bit of additional depth. A bonus section that is a supplement to the ‘how-to’.
A computer mouse in action
This example shows the end result of some digital artwork created using a mouse in Photoshop. It’s a bit trickier to use although it’s not bad for straight lines!
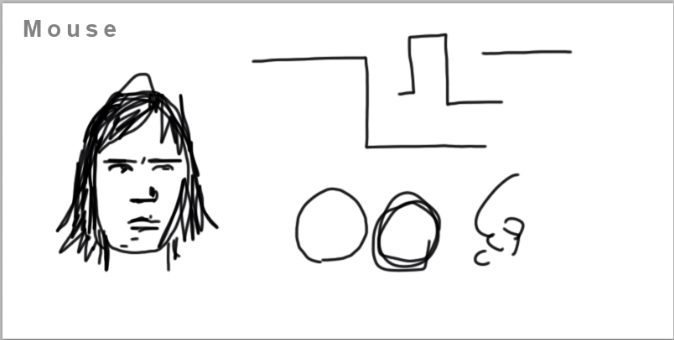
I would advise moving on from a computer mouse at some stage if you are thinking of getting serious with drawing on a computer, be it for graphic design, illustration, or your own sanity.
If you are thinking of spending many hours drawing and creating digital artwork, using a different input will save on potential wrist aches.
The day I plugged in a Wacom graphics tablet, was the day I changed the way I created digital artwork on a computer. Using a drawing or graphics tablet can make the experience of creating artwork on a computer much more organic.
A Wacom & stylus in action
Below is an example of me sketching something in Photoshop using a stylus + tablet. It’s a quicker, smoother, and much more human way of creating a drawing.
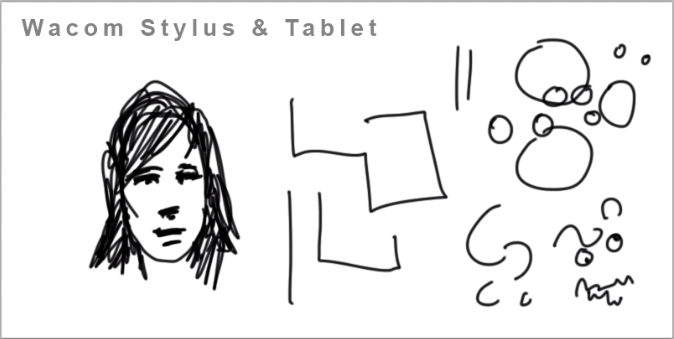
After using a Wacom Tablet for a few years now, I would struggle to return to drawing with a mouse. Outside the less control, the amount of RSI I used to get from drawing with a mouse, would be enough to put some off the profession.
Give a drawing tablet a try. I love them.
Summary | How to draw on the computer with a Wacom Tablet & Stylus
And that should conclude the basic overview in steps of how to draw on the computer with a Wacom tablet & stylus. As an overview, here is what we can do.
- Buy a stylus and drawing tablet of your choice.
- Install the hardware on your computer.
- Check the drivers are up to date – calibrate the software to your computer
- Download a graphics program such as Photoshop or one of free applications mentioned previously.
- Open the software.
- Start creating digital art!
Aside from the technicalities of the hardware, the real skill comes from lots of practice. Make sure to follow the short tutorial/exercises above to get you started with drawing your Wacom tablet.
Credits – All the best with your digital art journey and creating digital awesomeness on your computer
Thank you for reading, hopefully, this post has given you some insight into how to create digital artwork with a Wacom Tablet and an idea of tools you can use to draw on a computer.
If you would like any professional assistance please feel free to contact me on my website.
You may be also interested in reading this :
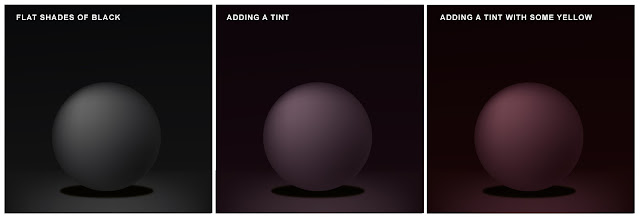
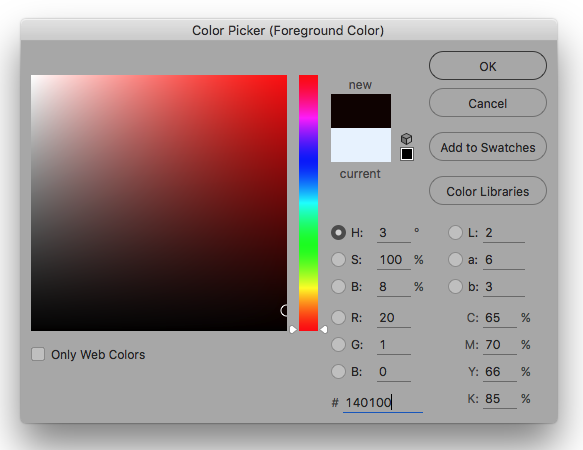
Handling black in print
Creating artwork for game
Reducing Banding in Photoshop
How to reduce banding on Photoshop
Editing text on your playing cards in Indesign